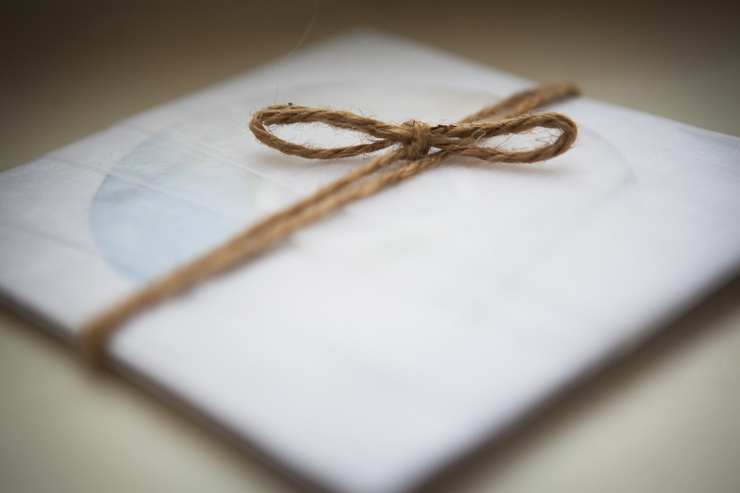
The final product – a DVD with color corrected images
The DVD that I give to the newlyweds after all the work is done is not as easy to get to as one might think. It is often a curvy path with packed with decisions at every step of the way. Here is a typical process I follow to get to the finished product below, of which the DVD burning part is the easiest, by far.
The final product – a DVD of high resolution images in color and black & white.
At a wedding I typically shoot around 3,000 photos (this of course deviates depending on the amount of hours that I’m hired for). I shoot a lot because, being mostly a photojournalist photographer, you can never know when that amazing moment is going to happen – you can only feel it coming and then take the photo in case it does happen. After I get home (which is often very late at night) I transfer all the photographs to an external drive. The reason for the external drive is that I shoot in RAW format and there is not nearly enough space on my computer to store such large and numerous files. Now, before all of this gets done, I will often have day-mares of the various possible things that may go wrong causing me to lose the photographs before I get them on my devices at home. What if the precious CF cards somehow slip out of my bag while I’m getting home? What if there are road-pirates who stop the car and steal all my camera equipment, taking all the precious photographs from the wedding along with them? In other words, I can only really breathe after the photographs are safe on my hard drive. After transferring, I don’t erase the information on the CF cards until I need to use the cards for the next shoot, just as a backup.
After transferring the photos onto the hard drive, I then import all of them into Lightroom. I generate instant previews in Lightroom, so that the photos load fast and there is no waiting time when I scroll through them. The first time I go through all the photos in Lightroom is one of the most exciting parts of the process. I often rejoice (sometimes I have to get up and jump around) whenever I see a photo that I think is amazing. The first round of culling typically takes about 2-3 hours. I will give all the worthy photographs 1 star. The others are ignored from that point on. Even in this first round there is a lot of going back and forth and lots of decisions to make. Should the one star be given to the photograph where the bride’s face is towards her groom and she’s laughing, or the one where she’s looking at him in a serious way? Probably both.
A second shooter adds a whole other dimension to this process. Besides having more photographs to sift through, I also have to make sure that the pictures from the two cameras are time synced. Even 30 second gap between the two cameras can result in a pretty serious time lapse in the progression of the photos – and that needs to be fixed.
The next round of photo selection I have to get a little more critical. I don’t want to overwhelm my brides with a sea of photos in which they drown. I want them to relive every point of their wedding day, but limit it to the golden (or at least the silver) moments within the day.
I then start brightening, darkening and color correcting all the photographs in Lightroom. I typically use the majority of Lightroom functions – temperature and tint, all the brightness controls (including exposure, recovery, fill light, blacks, brightness and contrast). I also pull up the right third of the tone curve for all the photos, giving them a tiny boost without ruining them for the printer. The way a photograph is printed is different from how it appears on the screen. If on a screen the photograph is really contrasty with a lot of color boost and the blacks are really black (meaning it looks great) chances are – it will not print well. Printers like less contrasty images that are on the light side. If there is a winning image (or three) that have unwanted details on the sides of the picture, I will sometimes use the graduated filter to blur those out. I then choose images with ISO of 5000 or above and slightly decrease the noise on those. I like to finish off by an ever so slight vignette.
I then rename all the photos and then export them into a “color” and “black+white” folders for the client. I also export the photos in a different folder in a smaller size, so that they could be emailed, put on the web, etc.) Burning the DVDs and putting labels on them, is the icing on the cake. Sometimes I also get carried away with the packaging of the DVD.
As you can see, photographing the wedding, although it’s the most fun part for me, is just the start of a lengthy process.

